
Make Your Food Photos Look Professional
I didn't choose to be a food photographer. It chose me. I just remember getting my beginner DSLR five years ago and take pictures of the artsy dishes I was preparing for my picky eating 5-year old son then my photography progressed to the dishes that I was preparing for my whole family. My friends asked for more pictures and with what zero knowledge I had about food photography, I embarked on an adventure to the blogosphere with just one thing on my back. Passion.

If you look back at my food pictures here from five years ago, you would see how much I have improved. Sometimes I would like to remove those pictures and replace them with better ones using the much better camera that I am using now but then again, why erase something from my past that reminds me how far I have gone?

Over the
course of five years, my husband coached me into understanding what I am
doing. He is the one who studied manual photography when he was young
so he knows all the technical details that I lack. That's my weakness.
Explain technical things to me 10 times and I would still ask you the
same question I asked you before you explained things to me. Okay, five
years have gone so I do know a thing or two about technical things. I do know all the technical details that I use in photographing the food in my house by heart. Thank God I learned something.

What camera am I using? Currently, I am using a Canon 5D MIII after changing twice. I keep a small and light Canon 100D with replaceable lens in my bag especially when I go out because my working camera is way too heavy. When I work, I use the 5D with 24-105 mm f/4 lens for a wider scope of the presentation so I can get all the details I want on the table. Whereas for the macro, when I want to go up close to the details of the food, I use the 100 mm f/2.8. At the beginning, I was using the 50 mm f/1.8 but I discovered that I like the lenses that I am using now with the full frame camera.When I am out in a restaurant, I am getting the habit of using my iPhone which takes perfectly good pictures for sharing in my social networks accounts.

The lighting in food photography is quite tricky and frustrating. The options are natural or artificial. I use both, but 90% of the time I go for natural light with the help of a reflector because one side gets too much light while the other side gets less. After 4 years of looking for the perfect spot in and around my house, I finally found the one where I get the best lighting.

It also depends on the weather of the day. When it's a day when I have to cook and photograph which always goes from one to the other, I check the weather forecast first. If it can wait a day, I postpone hoping to get a beautiful day to give me beautiful lighting. Gray skies give a medium grayish tone to the pictures. Late afternoon light gives a warm goldish tone while early afternoon gives a crispier colder tone. Mid-morning light gives a crisp light too. If there are some tones you want to adjust, you will just have to do it in your photo editing program. When
winter arrives with much shortened daylight and I need to take pictures
of step-by-step cooking photos in the kitchen, I use artificial light using lighting umbrellas to boost the light in my kitchen. And a tripod. Never forget the tripod.

When you take photos, you almost never present them as is. Less editing is better of course. I take an average of 50 shots of a single subject in RAW format. It is much heavier than JPG but it gives me so much flexibility to edit the pictures. I save my final photo in JPG and I keep both RAW and JPG versions in 2 identical external memory drives. I already had one external drive die on me before so to be safe I keep 2 memory banks carrying all my photos each. When I start editing, I delete about half of the number of photos I took and edit them in Adobe Lightroom.

For the first couple of years of photographing food, I never used a tripod. I
wanted to work moving freely around the subject even during the times
when lighting was low. I thought I was taking perfectly sharp pictures
until I realized that most of them were blurry when I started zooming
them.

Now I never take pictures at home without my tripod. It's
important that you get a good one that can carry the full weight of
your camera plus the lens attached to it. The brand doesn't matter. What
matters is that it is sturdy and strong. You don't want your camera
crashing on the floor do you? It's better to be safe than sorry. My
tripod is a Manfrotto which I am perfectly happy and satisfied with.

The style of food photography that you want your pictures to reflect depends solely on you because photography is an art. It reflects your moods and personality. Scan around the internet for ideas, check out your favorite food sites or food blogs. What do you like about their photos? There are different kinds that you can create like dark surroundings with the main light focusing just on the subject, bright and crisp with white backgrounds, colorful, country style, antique, messy like you're in the middle of cooking, minimalist or linear. There's a whole world of styles waiting for you to try and criticize. Trial and error is a good method of learning until you find how you want to represent your photography.

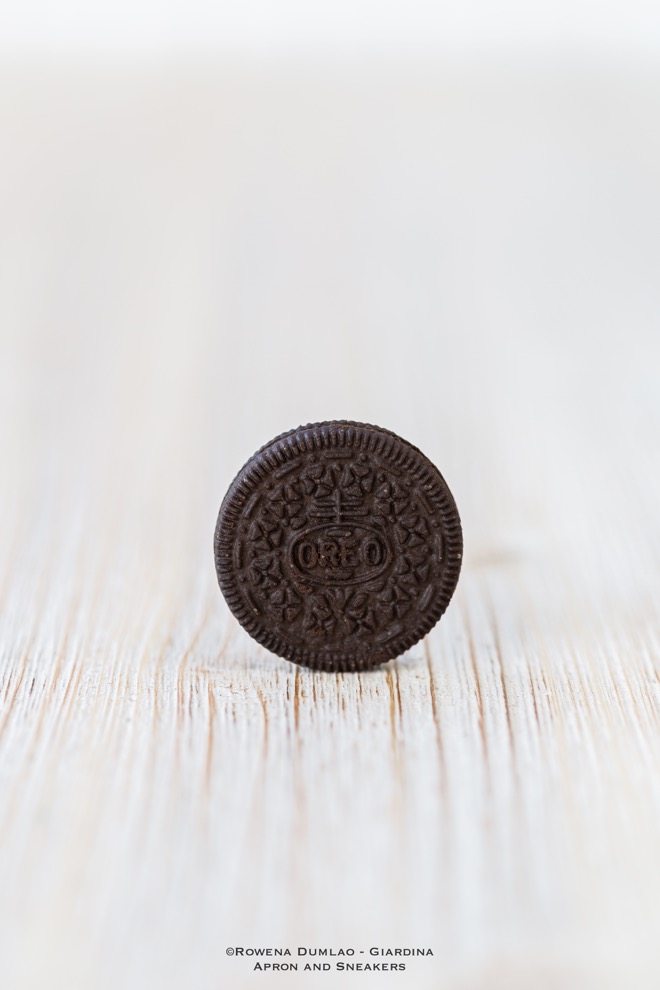
You don't want to spend a fortune in props when you start photographing food. Take a look around your house, especially your kitchen and use what you have. White plates and slate plates are the best base for food because they don't take away the attention from the subject. Utensils, the ingredients used, herbs, leaves, branches, table napkins, loose fabrics, hand towels are great props.

I have different kinds and colors of boards that I use as base and backing for the food but I use the white wooden board the most. In spring, when the grass attains a beautiful shade of green, I love using it as the base of my photos. It gives an inviting and natural approach to food. Since I take my photos outside, I am surrounded by a big world of all-natural props. Leaves, seeds and branches are great to use!


Tilt that camera and check out which angle works best for the specific food that you are taking photos of. I love top view very much even if some food photographers say that it's wrong. I disagree with that because photography is an art and no one can tell you how your art should be done. Sometimes, going against the rules takes your photography to a better perspective. That's how Impressionism was born. So experiment and create your own art!

Find out more about food photography in the story I created for Mode. You can see it below or the link to take you to the story Make Your Food Photos Look Professional. You can find more of my stories there at my Profile Page.
Check out Make Your Food Photos Look Professional
by Rowena Dumlao - Giardina at Mode

